
Decorating for Christmas is no easy task, especially the tree. I mean come on you can’t just throw up a tree and call it a day. You have to stand up the Christmas tree, string the lights, place the ornaments and of course the tree topper.

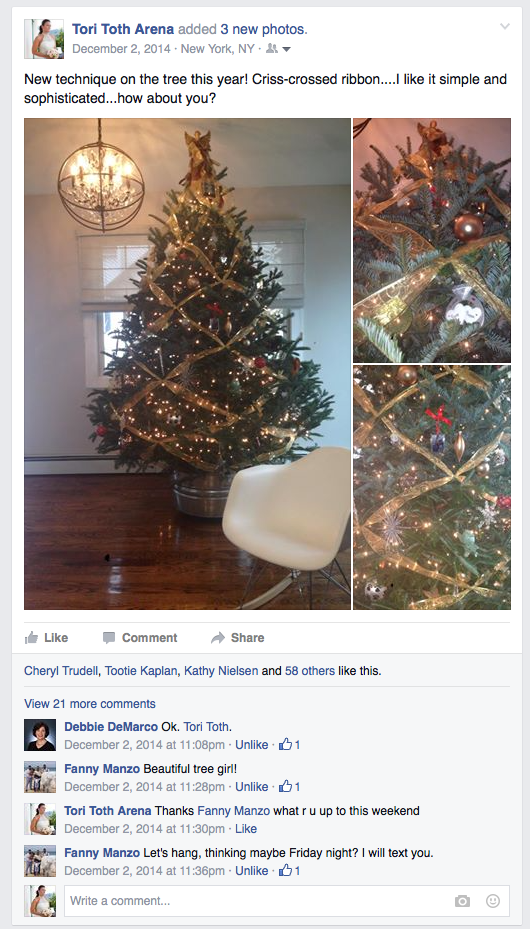
Well, let me show you one more step that is a tad time-consuming, I’m not going to lie, but looks absolutely stunning. It’s called the criss-cross ribbon technique and I began doing this to my tree last year. Well, when I posted a picture on Facebook of the tree decorated like this in 2014, everyone fell in love and many even tried it on their own.
So before I show you how it’s done let me tell you what you will need. First off, when purchasing the ribbon being used you want to make sure you get the right amount and of course that all depends on the size of your tree, so for a 7 foot tree you need 10 pieces of 14 foot ribbon. Basically you need to double the length of the tree’s size to get the length of the ribbon. Ok, so you’ll need to have handy:
- Ribbon (something that isn’t flimsy)
- Scissors
- Wire
- Measuring Tape
- Stool or Ladder
- Decorative Attachments (Optional)
The easiest way to show you how to complete this look is simply watching this video below on how to create the criss-cross ribbon Christmas tree.
If you’re celebrating Christmas this season, then you can’t miss our FREE Christmas Wall Art Printables! It’s my way of saying thank you for following our videos, blog and tips for creating a home you’ll feel at home in. We have six printables for you to choose from that will go with any holiday design style you showcase in your home. Learn how to grab for FREE here.

Please comment below and tell me if you use a real or fake Christmas tree (mine is real) and of course what you thought about this decorating tip. If you have any questions or would like to see a video in particular feel free to email me.
Happy Holidays,